
How to upgrade ssd on laptop without data loss usually comes down to three things: picking the right drive, cloning the old SSD correctly, and making sure the new SSD can boot before you wipe anything.
If you’ve ever swapped hardware and then watched Windows refuse to start, you already know why this topic matters. The “data loss” fear isn’t just about photos, it’s also about apps, licenses, BitLocker keys, and the little settings you forgot you rely on.
This guide stays practical: you’ll get a quick self-check to confirm which upgrade path fits your laptop, a cloning-first workflow that’s common in IT teams, and a short list of mistakes that cause most failed upgrades.
Before you start: pick the right upgrade method
There are two reliable ways to move to a bigger SSD without losing anything: clone the old drive (most common) or image backup and restore (often safer when storage sizes differ a lot). The “right” choice depends on your laptop ports and how your current drive is set up.
Quick comparison table
| Method | What it does | When it’s a good fit | Common gotcha |
|---|---|---|---|
| Disk cloning | Copies partitions so the new SSD boots like the old one | You want the same setup, minimal reinstall | Wrong partition alignment or missed EFI partition |
| Image backup + restore | Creates a backup file, then restores it onto the new SSD | You want more control, or cloning tools struggle | Boot repair may be needed after restore |
| Fresh install + data migration | Installs Windows clean, then moves files | You want a “reset” and fewer legacy issues | App reinstallation and license reactivation |
Self-check: make sure your laptop and SSD plan match
Before you buy anything, confirm the physical format and interface. A surprising number of “my new SSD isn’t detected” cases are just a mismatch between SATA vs NVMe, or a laptop that only supports one type in a given slot.
- Current drive type: 2.5-inch SATA, M.2 SATA, or M.2 NVMe
- Laptop slot support: some M.2 slots accept NVMe only, others SATA only, some both
- Do you have one slot or two: two slots makes upgrades easier because you can clone internally
- Do you have an enclosure/adapter: USB-to-M.2 NVMe enclosures differ from USB-to-M.2 SATA models
- BitLocker status: if device encryption is on, save the recovery key before changes
- Free space vs new SSD size: if your old drive is 900GB used and the new drive is 1TB, cloning can still fail if partitions are awkwardly sized
According to Microsoft, BitLocker recovery keys should be backed up (for example to your Microsoft account or another safe location) so you can unlock the drive after hardware changes.
Safe workflow (recommended): backup first, then clone, then swap
This is the part many people try to skip, then regret. Even when your goal is how to upgrade ssd on laptop without data loss, you still want a separate backup because cloning is not the same as backup.
1) Do a quick backup that you can actually restore
- Back up your Desktop, Documents, and any “odd” folders you keep on C:
- Export browser bookmarks and password manager vaults if they aren’t cloud-synced
- If you use BitLocker, store the recovery key somewhere off the laptop
- If you have work tools, note license keys and sign-in methods
A simple rule: if the clone fails and you had to reinstall Windows tonight, could you still get your core files back? If the honest answer is “not really,” do the backup.

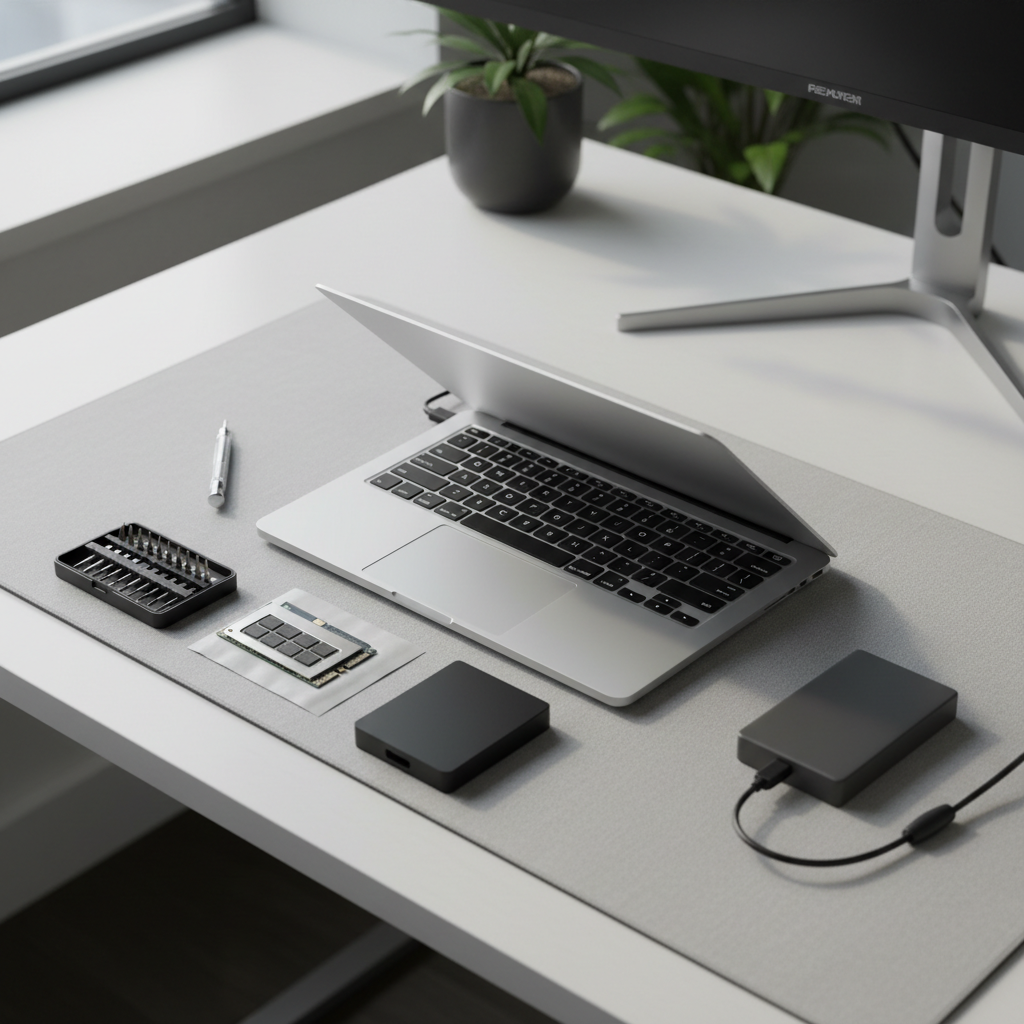
2) Clone the SSD (typical approach)
Connect the new SSD using the correct enclosure or adapter, then use reputable cloning software that supports GPT/UEFI layouts. Most modern Windows laptops use UEFI + GPT, which means you must clone the EFI System Partition, not only the big C: partition.
- Confirm the new SSD shows up in Disk Management
- Run the clone from the old SSD to the new SSD, not the other way around
- Pick options that keep partition alignment (important for SSD performance)
- If the new SSD is larger, expand the main partition during or after cloning
After cloning finishes, shut down fully. Don’t “restart” and keep clicking around, just power it off and move to the hardware swap.
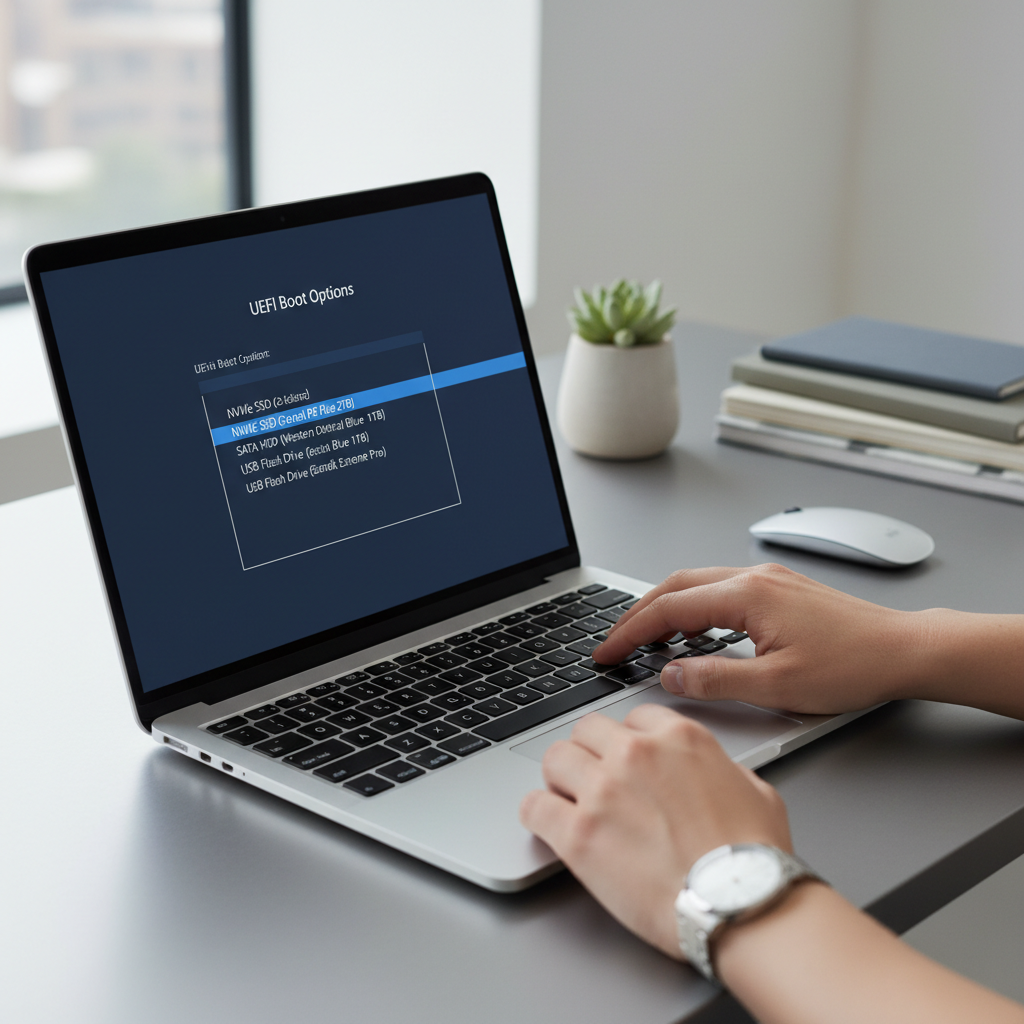
3) Swap the SSD and test boot before wiping anything
Install the new SSD into the laptop slot, then boot into BIOS/UEFI to confirm the drive appears. Your first boot may take longer than usual.
- If it boots normally, log in and check a few apps and files
- Open Disk Management to confirm partitions look sane
- Only after a successful test should you consider formatting the old SSD for reuse
Step-by-step: what to do when the laptop has only one SSD slot
Single-slot laptops are common, especially thin models. You typically clone via USB enclosure, then swap drives. This workflow is still how to upgrade ssd on laptop without data loss, it just requires one extra piece of hardware.
- Buy the correct enclosure for your drive type, NVMe and SATA M.2 are not interchangeable
- Connect the new SSD externally, confirm it’s detected
- Clone, then power down, then physically replace the internal SSD
- Boot, validate, and keep the old SSD untouched for a few days as a rollback option
If your laptop uses a 2.5-inch SATA SSD, a SATA-to-USB adapter cable can work. For M.2 NVMe, use a USB-to-NVMe enclosure that supports your key type and length, often 2280.
Common failure points (and how to avoid them)
Most “data loss” stories start as “it wouldn’t boot.” The files may still exist, but access becomes harder. Avoid these issues and you usually avoid the drama.
Boot errors after cloning
- Missing EFI partition: re-run clone selecting the entire disk, not just C:
- Wrong boot mode: BIOS set to Legacy while the disk expects UEFI, or vice versa
- Encrypted drive confusion: BitLocker may prompt for recovery key after hardware change
According to Microsoft, Windows includes recovery tools that can fix startup issues via Windows Recovery Environment. If you can’t boot, a Windows installation USB can often reach those tools.
New SSD not detected
- Interface mismatch, SATA M.2 drive in an NVMe-only slot is a classic
- Enclosure mismatch, NVMe drive in a SATA-only enclosure shows as “nothing happened”
- Drive not initialized when checking in Disk Management, though some cloning tools still detect it
Cloning to a smaller SSD
This is possible only if used space fits and the cloning tool can shrink partitions safely. In practice, many people waste hours here. If you’re trying to go smaller, do an image backup + restore, or clean up and shrink partitions first.
Practical checklist: a clean, low-risk upgrade day
If you want a calm upgrade, treat it like a mini change-management task, even at home.
- Power: keep the laptop plugged in during cloning
- Time: allocate 1–3 hours depending on how much data you have
- Tools: correct screwdriver, enclosure/adapter, and a backup destination
- Recovery: have a Windows recovery/installer USB ready
- Validation: test boot, test Wi‑Fi, open a few key apps, verify your important folders
Key takeaways (so you don’t overthink it)
- Backup is still required, even if you plan to clone
- Confirm SATA vs NVMe before buying an SSD or enclosure
- Clone the whole disk layout so EFI/Recovery partitions come along
- Boot-test the new SSD before wiping the old one
- Keep BitLocker recovery key handy if encryption is enabled
When to get professional help
If the laptop holds business-critical data, if the drive shows SMART warnings, or if you suspect file system corruption, bringing it to a reputable repair shop can be the safer move. Hardware changes and recovery steps can be low-risk, but mistakes compound fast when the original drive is already failing.
The same goes for devices under warranty or laptops with difficult internal access. Some models hide screws under feet, use fragile clips, or route cables in ways that are easy to damage.
Conclusion: keep your old drive untouched until the new one proves itself
How to upgrade ssd on laptop without data loss is less about a magic tool and more about sequencing: backup, clone, swap, verify, then only at the end decide what to do with the old SSD. If you follow that order, you give yourself multiple escape hatches instead of a single point of failure.
If you want the simplest next step, start by identifying your current SSD type and whether your laptop has one slot or two, then choose the cloning setup that matches that reality.
FAQ
- Can I upgrade my laptop SSD without reinstalling Windows?
Yes, cloning usually keeps Windows, apps, and settings intact, as long as you clone the full disk layout and the new SSD can boot in the same UEFI mode. - How long does it take to clone an SSD?
It depends on how much data is used and the speed of your USB/enclosure. Many everyday upgrades finish within an evening, but large drives can take longer. - What if my cloned SSD boots, but Windows feels weird or unstable?
That can happen if the original install already had issues, or if drivers and firmware are outdated. Run Windows Update, check SSD firmware, and consider a repair install if problems persist. - Do I need an NVMe SSD, or is SATA fine?
NVMe is typically faster, but only if your laptop supports it. If your laptop is SATA-only, a good SATA SSD still delivers a noticeable improvement over an HDD. - Will upgrading an SSD void my laptop warranty?
It varies by brand and warranty terms. If you’re unsure, check the manufacturer’s documentation or ask support before opening the chassis. - What should I do with the old SSD after the upgrade?
Keep it as-is for a short period as a rollback plan. After you’re confident, you can wipe it securely and use it as an external drive with an enclosure. - I turned on BitLocker, will I lose files during the upgrade?
Usually not, but you may be prompted for the recovery key after the swap. Save the key in advance, and pause encryption only if you understand the trade-offs.
If you’re doing this for the first time and you’d rather not guess on drive type, enclosures, or the cloning path that fits your model, a local repair shop or managed IT provider can often help you plan the upgrade so you keep your files and avoid the classic boot surprises.