
how to recover deleted photos on android usually comes down to one question: are the photos truly gone, or just sitting in a “trash” area, a cloud backup, or a different folder.
If you act quickly, your odds are better, because Android storage can overwrite “deleted” space without warning, especially after new photos, app updates, or downloads.
This guide walks you through the real-world recovery path people actually use: start with the easiest built-in restores, then move to backups, then try computer-based recovery if the situation still looks salvageable.
Before you try anything: stop the overwrite
When a photo is deleted, many Android phones do not immediately erase the data, they mark the space as available. The problem is that “available” space gets reused fast.
- Stop taking photos and videos on that phone for now.
- Avoid installing apps and downloading large files.
- If you plan to use recovery software, use a computer and keep phone activity minimal.
It feels dramatic, but this simple pause is often the difference between recoverable and permanently overwritten.
Quick wins: check Trash/Recently Deleted first
Most people skip this and jump straight to tools, then realize the photos were sitting in a built-in trash folder the whole time. On many devices, deleted photos stay there for a limited time window.
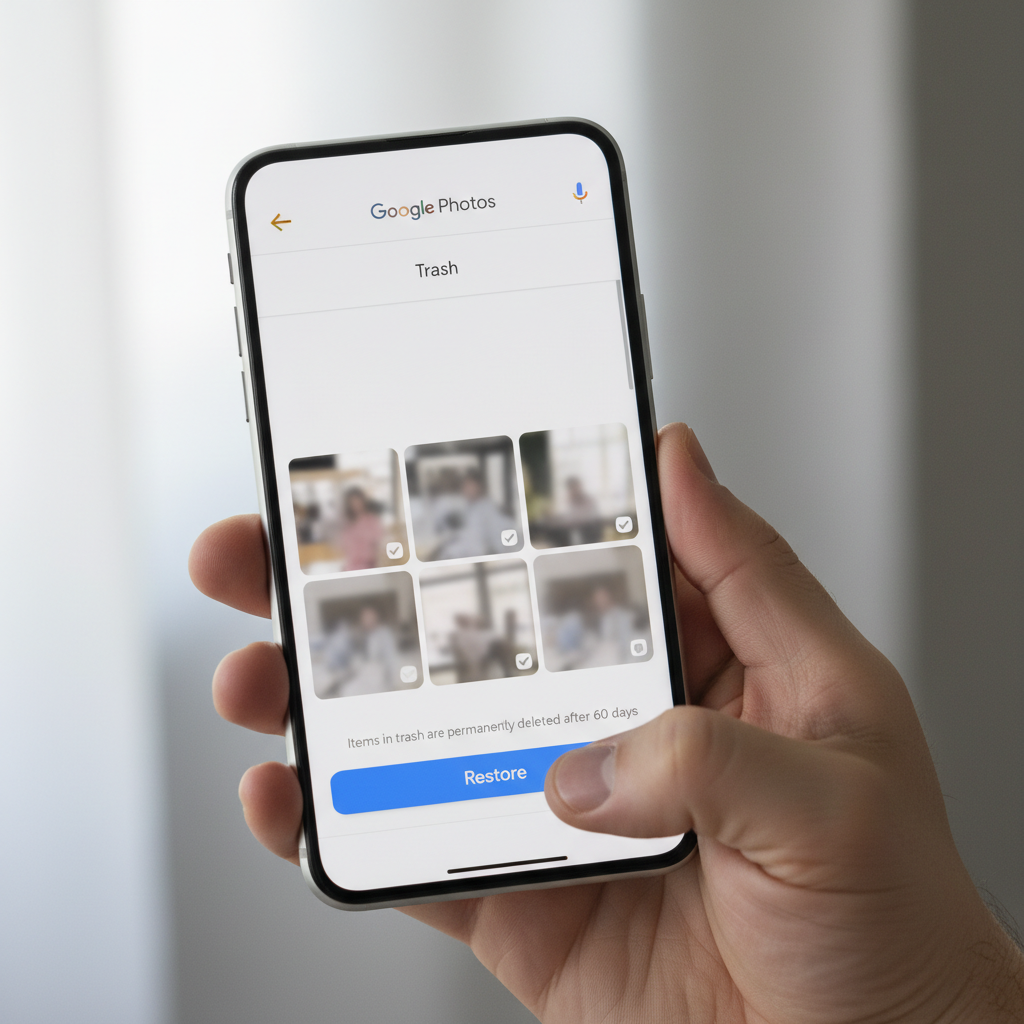
Google Photos (most common on Android in the US)
- Open Google Photos > Library > Trash (or Bin).
- Select photos > tap Restore.
According to Google Photos Help... items in Trash are kept temporarily before permanent deletion, and restoring returns them to your library and original albums when possible.
Samsung Gallery (if you use Galaxy devices)
- Open Gallery > Menu > Trash (or Recycle bin).
- Select > Restore.
Some brands hide this under “Albums” or “More,” so if you don’t see it, use the in-app search for “trash” or “recycle.”
Find “missing” photos that were never deleted
Sometimes the photos are not deleted, they are just not showing where you expect. This happens after switching gallery apps, changing SD cards, turning off cloud sync, or moving files.
- Check Google Photos > Search for a date, place, or object.
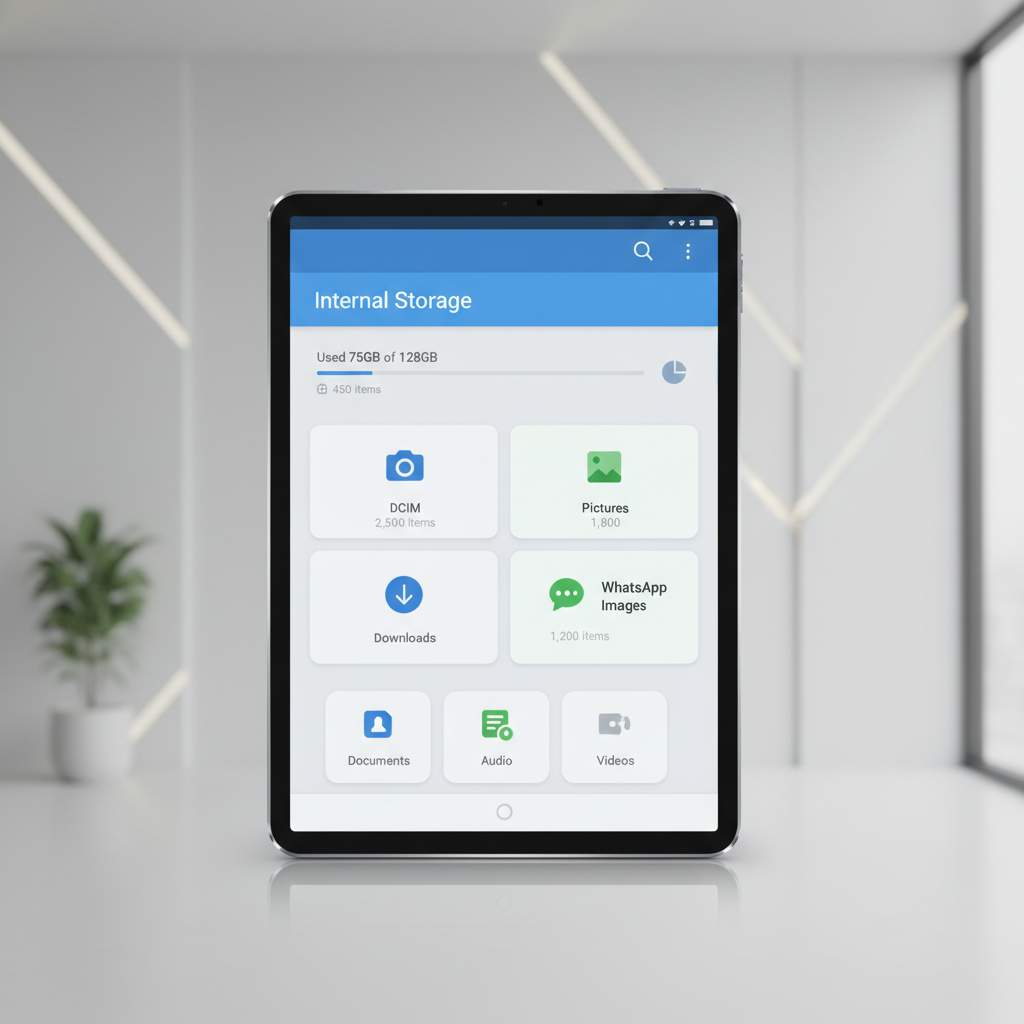
- Open your Files app (Google Files or your phone’s file manager) and look in DCIM, Pictures, and app folders like WhatsApp Images.
- In Google Photos, check Library > Photos on device.
A common gotcha: you might be viewing cloud-only photos on one device and device-only photos on another, so the “missing” set is really a sync/view filter issue.
Recover from backups: Google account, OEM cloud, and other services
If the Trash is empty, backups become the next realistic path. Many Android users have at least one backup running without thinking about it.
Google Photos backup
- Open Google Photos > profile icon > Photos settings > Backup.
- If Backup is on, search for the photo by date or location, then download or re-save it.
Even if a photo is deleted on-device, a previously uploaded copy may still exist in your Google Photos library, depending on sync settings and timing.
Google Drive / Google One device backup
Drive backups are not a simple “photo restore” button, but they matter when photos were attached to app data, messages, or device migrations.
According to Google Account Help... Android can back up certain device data to your Google account, and restore may occur when you sign in on a new device.
Manufacturer cloud (Samsung Cloud, OnePlus, Xiaomi, etc.)
These vary a lot by brand and region, but if you used an OEM gallery with cloud sync, check that account’s trash/recycle area too. In many cases there is a web dashboard where recovery is easier.
When there’s no backup: realistic recovery options (and limits)
This is where expectations matter. Modern Android security and storage design can block deep file access, and recovery success can range from “easy” to “near impossible” depending on the phone model, Android version, and how the storage is encrypted.
| Situation | What often works | What usually won’t |
|---|---|---|
| Photos deleted recently | Trash/Recently Deleted restore | Waiting weeks while using the phone normally |
| Backup was enabled | Restore from Google Photos / OEM cloud | Assuming backups exist without checking settings |
| No backup, internal storage, modern Android | Limited recovery via computer tools in some cases | Guaranteed full recovery, especially after heavy use |
| SD card used for camera storage | SD card recovery with a card reader | Continuing to shoot to the same SD card |
Try SD card recovery (if your photos were stored on a card)
If your camera saved to a microSD, you have a clearer path: remove the card, stop writing to it, and use a reputable recovery tool on a computer via card reader. This often works better than internal storage recovery.
- Power off the phone, remove the SD card.
- Use a card reader on a PC or Mac.
- Scan the card and recover files to the computer, not back onto the card.

Computer-based recovery for internal storage: proceed carefully
For internal storage, some recovery utilities claim they can scan Android storage. In practice, access limits, encryption, and MTP file transfer mode mean results vary, sometimes sharply.
- Use a trusted, well-reviewed recovery tool, avoid “one-click miracle” claims.
- Prefer tools that explain what they can and cannot access on your Android version.
- If a tool pushes risky steps (like rooting), pause and weigh the trade-offs.
Rooting may increase access, but it can also create new risks: warranty issues, security exposure, and accidental data loss. For many users, it is not worth it just to chase a few photos.
Self-check: which recovery path fits your case?
If you feel stuck, run this quick checklist. It usually points to the fastest next step.
- I deleted photos today or this week → check Google Photos Trash / Gallery Trash.
- I used Google Photos backup but can’t find them → search by date/location, check Archive, confirm the correct Google account.
- I switched phones recently → confirm you signed into the same Google account and that Photos sync finished.
- I saved camera photos to SD card → stop using the card, run SD recovery via computer.
- No backups anywhere → minimize use, consider computer-based scanning, keep expectations realistic.
Practical step-by-step: a safe recovery sequence you can follow
People waste time bouncing between apps. This sequence keeps you moving without making the situation worse.
Step 1: Restore from Trash (Google Photos or Gallery)
Do this first even if you feel sure it “won’t be there.” It is the highest success, lowest risk option.
Step 2: Confirm backups and accounts
- Verify the Google account you are using in Photos.
- Check whether Backup was on around the time the photo was taken.
- If you use an OEM cloud, log into its web portal if available.
Step 3: Search device storage for moved folders
Use your file manager to check DCIM and app folders, especially after OS updates or gallery app changes.
Step 4: If needed, attempt recovery (SD card first, then internal)
Recover to a different destination, preferably a computer drive or cloud folder, then copy back later.
Common mistakes that make recovery harder
- Keeping the phone in heavy use after deletion, storage overwrite is the silent killer.
- Restoring to the same SD card you are scanning, that can overwrite recoverable files.
- Assuming “trash is empty” means hopeless, backups may still hold copies.
- Using sketchy apps that demand broad permissions and show aggressive ads, privacy risk is real.
If you are recovering sensitive photos, think about privacy: avoid uploading your entire camera roll into unknown services just to “try a scan.”
When it’s time to get professional help
If the photos are truly irreplaceable, wedding photos, legal evidence, business records, and you have no backup, a professional data recovery service might be worth considering. This is especially true when the device has physical damage or storage failure signs.
- Phone cannot boot, storage not recognized, or frequent crashes
- Water damage or severe impact
- You need chain-of-custody style handling for legal contexts
Costs and success rates vary by device and damage type, so ask for a clear evaluation process. If you suspect anything legal-related, it may be wise to consult a qualified professional for guidance that fits your situation.
Conclusion: get the photos back, then make sure this doesn’t repeat
how to recover deleted photos on android is mostly about choosing the right door: Trash first, then backups, then careful recovery attempts if you have no safety net. If you do one thing today, check whether Google Photos backup is enabled and confirm it is using the account you actually rely on.
Key takeaways: start with Trash, stop using the device if recovery is urgent, and treat “no backup” scenarios with realistic expectations.
If you want the simplest next step, open Google Photos now, check Trash, then spend one minute confirming Backup settings, that small habit prevents most future panic.